
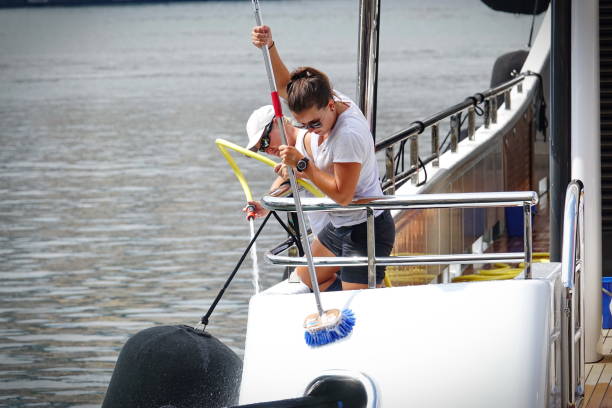
Cleaning and maintaining your boat’s plastic surfaces can be a daunting task, especially for those who are new to boat ownership. The wrong cleaning products can damage the plastic, leading to costly repairs and a compromised appearance. However, with the right approach and tools, you can keep your boat looking its best. In this article, we will walk you through the essential steps to clean and polish your boat’s plastic surfaces, including how to use the right cleaning products and techniques.
Step 1: Prepare Your Boat for Cleaning
Before you start cleaning, it’s essential to prepare your boat for the task. This includes removing any loose debris, such as dirt, leaves, or other objects, from the surface. You should also cover any surrounding areas, such as carpets or upholstery, to prevent any cleaning products from getting on them. It’s also a good idea to read the manufacturer’s instructions for any cleaning products you plan to use.
Choosing the Right Cleaning Products
When it comes to cleaning your boat’s plastic surfaces, you want to use products that are specifically designed for the task. These products are usually labeled as “plastic cleaners” or “plastic polishes.” They are designed to safely remove dirt and grime without damaging the plastic. You can find these products at most marine supply stores or online. For example, the EZ2CY plastic cleaner and polish combo is a popular choice among boat owners.
Step 2: Clean the Surfaces
Once you have prepared your boat and chosen the right cleaning products, it’s time to start cleaning. Begin by applying the cleaning product to a soft cloth and then wiping down the surfaces. Be sure to follow the manufacturer’s instructions for application and drying times. It’s also a good idea to use a clean, dry cloth to wipe down the surfaces after cleaning to remove any excess moisture.
Using a Soft Cloth
When cleaning your boat’s plastic surfaces, it’s essential to use a soft cloth to avoid scratching the plastic. A soft cloth will also help to prevent any cleaning products from getting into the tiny crevices and grooves of the plastic. You can find soft cloths at most marine supply stores or online.
Step 3: Polish the Surfaces
Once you have cleaned the surfaces, it’s time to polish them. Polishing will help to remove any remaining scratches or imperfections and leave the plastic looking like new. You can use a separate polish or a combination product like the EZ2CY plastic cleaner and polish combo mentioned earlier.
Tips for Polishing
When polishing your boat’s plastic surfaces, be sure to follow these tips:
- Use a clean, soft cloth to apply the polish
- Work in small sections to avoid over-polishing
- Use a circular motion to buff the surfaces
- Don’t apply too much polish, as this can leave a residue
- Use a clean, dry cloth to wipe down the surfaces after polishing
Step 4: Regular Maintenance
Cleaning and polishing your boat’s plastic surfaces is not a one-time task. To keep your boat looking its best, you’ll need to regularly clean and polish the surfaces. This will help to prevent dirt and grime from building up and causing damage.
Discover expert strategies here
For more information on cleaning and polishing your boat’s plastic surfaces, be sure to check out the EZ2CY plastic cleaner and polish combo product page. This page offers advanced guides and tips on how to keep your boat looking its best.
Conclusion
Cleaning and polishing your boat’s plastic surfaces may seem like a daunting task, but with the right approach and tools, it can be a breeze. By following these essential steps and using the right cleaning products, you can keep your boat looking its best. Remember to regularly clean and polish the surfaces to prevent dirt and grime from building up and causing damage. With a little practice and patience, you’ll be a pro at cleaning and polishing your boat’s plastic surfaces in no time.