
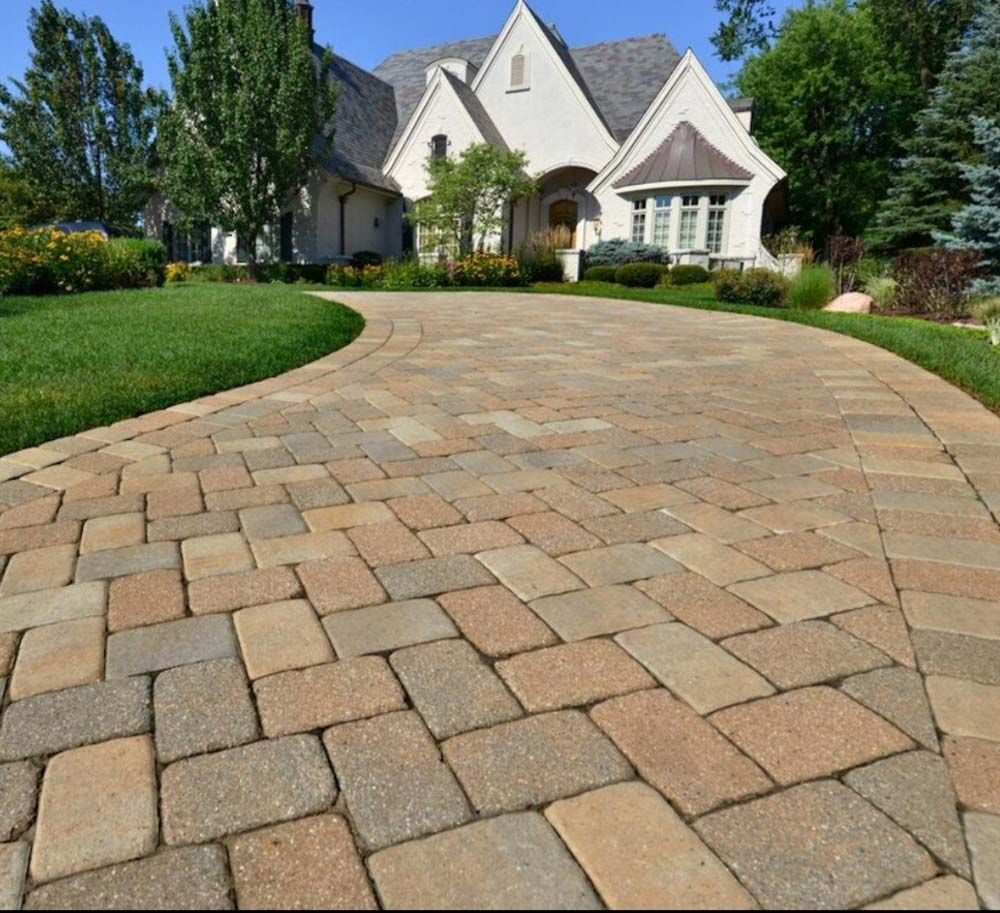
Installing a paver driveway is one of the smartest investments a homeowner can make for lasting curb appeal and functional durability. Unlike traditional asphalt or concrete, interlocking pavers provide superior resistance to cracking, easy repairability, and a timeless aesthetic that can be customized to match any architectural style. By following proven installation methods and paying close attention to sub-base preparation, drainage, and joint design, a paver driveway can remain beautiful and serviceable for decades.
Why Choose Pavers Over Conventional Surfaces
Pavers offer several advantages that make them a preferred choice for long-lasting driveways:
- Durability: Individual units can shift independently, reducing the risk of large-scale cracking.
- Design Flexibility: A wide range of colors, shapes, and patterns allows for unique, tailored looks.
- Easy Maintenance: Damaged sections can be replaced without disturbing the entire surface.
- Improved Drainage: Permeable paver systems help manage water runoff, protecting the foundation.
Key Steps for a Successful Installation
1. Planning and Design
Before breaking ground, develop a detailed layout that considers traffic flow, turning radii, and aesthetic goals. Consulting reputable resources such as Discover expert strategies here. can provide valuable guidance on pattern selection and material specifications.
2. Excavation and Sub-Base Preparation
The longevity of a paver driveway begins with a stable foundation. Follow these sub-base steps:
- Excavate to a depth of 8-12 inches, depending on soil conditions and expected load.
- Lay a geotextile fabric to separate the soil from the aggregate.
- Spread crushed stone or gravel, compacting it in 2-inch layers to achieve at least 95% compaction.
3. Edge Restraints and Base Layer
Install sturdy edge restraints, concrete curbs, steel, or plastic, to prevent lateral movement of the pavers. Then, add a sand or fine-gravel base (typically 1-2 inches) and level it with a screed board.
4. Laying the Pavers
Begin laying pavers from a straight reference line, maintaining consistent spacing. Use a rubber mallet to seat each unit firmly. For intricate patterns, a layout grid or string lines can ensure accuracy.
5. Joint Sanding and Compaction
After the pavers are set, sweep polymer-modified sand into the joints. Compact the surface with a plate compactor, then repeat sanding to fill any voids. This step locks the pavers together and enhances resistance to weed growth.
Maintenance Tips for Longevity
Regular upkeep extends the life of a paver driveway. Simple practices include:
- Removing debris and leaves to prevent moisture retention.
- Cleaning stains promptly with a mild detergent.
- Re-sanding joints annually or after heavy use.
- Inspecting edge restraints for movement and repairing as needed.
Common Mistakes to Avoid
Even experienced installers can encounter pitfalls that shorten a driveway’s lifespan. Be mindful of the following:
- Insufficient sub-base compaction: Leads to settlement and uneven surfaces.
- Improper drainage design: Causes water pooling and frost heave.
- Using the wrong sand type: Non-polymer sand may wash out, leaving loose joints.
- Neglecting edge restraints: Allows pavers to shift under traffic loads.
Professional Resources and Further Reading
For deeper insight into advanced installation techniques, Explore advanced guides and tips. This source offers comprehensive coverage of material selection, climate considerations, and troubleshooting common issues.
Additionally, homeowners seeking customized solutions can Learn about our tailored solutions. to match specific design preferences and performance requirements.
Conclusion
A well-executed paver driveway combines aesthetic appeal with structural resilience, delivering a surface that stands the test of time. By adhering to meticulous site preparation, precise installation steps, and proactive maintenance, property owners can enjoy a durable, low-maintenance driveway for many years. Leveraging expert guidance from reputable sources ensures that each phase of the project aligns with best practices, resulting in a finished surface that truly enhances the home’s value and curb appeal.